
Project Updates


Howls Moving Castle Tapestry Update

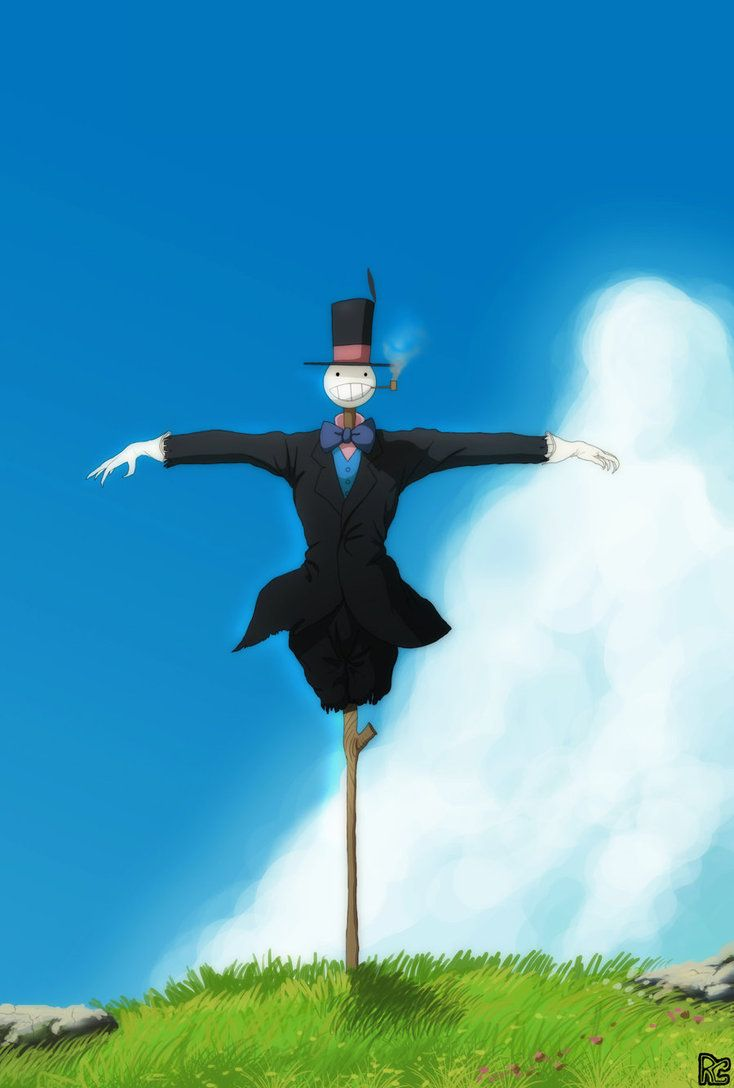
This week I have continued to create imagery from studio Ghibli's Howls Moving Castle. After re-watching the film once again to create a timeline of the film, I wrote down notes of particular items or scenes that I felt encapsulated the overall aesthetic of the film. At this point, I have now captured roughly the first 40 minutes of the movie, and I am now considering how each element will from from one another by using small details such as stars, hills and flowers to create a harmony from each element to the next, so as not to create a tapestry that looks like patchwork and rather a collage. 


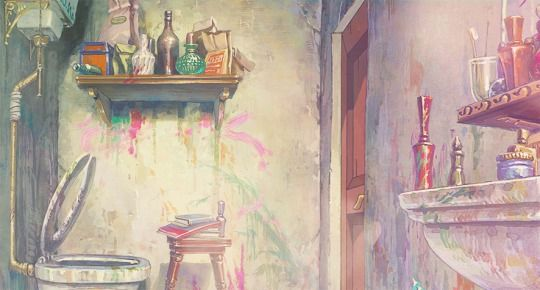
Here is the top portion of the tapestry, and the first 40 minutes of the film;


Of course, I should also hone in on some of the other elements that I chose to hone in on such as the front door to howls moving castle which plays a key role in understanding how Howl is constantly on the run from the king and his authorities. 


The Castle of course, which resides within the hills of "the waste" and appears just outside of the castle and township.


Turnip Head, one of the Side characters of the movie who leads Sophie to the Castle in the beginning of the film.


And lastly, some decorative elements that hint specific scenes, like the bathroom scene when Sofie begins her work as the cleaning lady from the castle or other aesthetic elements like a nod to the stars and celestial elements used within the film.


Comments

Popular posts from this blog

Marina Dawson: Project Proposal

  Project Proposal For this upcoming deadline, I would like to create a large laser-cut tapestry on black paper that is roughly 3ft by 2ft. I would like to create imagery based on one of my favourite movies, Howl's Moving Castle, by Studio Ghibli, and laser-cut it onto paper to be hung with a poster hanger. The designs will begin from the top left and work their way down to the bottom right, as the tapestry tells the film's story with certain elements from each major scene featured in each section.    I have chosen this movie because it was the first anime I watched as a kid and the catalyst for my love for the medium. With a beautiful soundtrack, a star-studded cast of voice actors, and, of course, Hayao Miyazaki's creative direction, this film is an instant classic for me. I am incredibly excited to begin the design process in Rhino and create something beautiful.  After reviewing screenshots from the movie, I examined some of the recurring design themes, such...

Croatian Pattern's and Motifs: Surface Design Creation

Croatian Pattern's and Motifs Project By: Marina Dawson OBDF 210           After plenty of research, I decided to create a spread of some of my favorite kolo's, Orgada's, and Narukvica's some which are from the region in Croatia my family is from, and ones that I had created myself. The color palette I decided to utilize are inspired by traditional kolo dresses and scarves from the capitol of Croatia, Zagreb.  I used a plethora of commands while creating this design such as, Array Polar, Offset, Mirror, Rotate (Copy) and of course Hatch. I struggled in some areas especially like using Array's as I am still familiarizing myself with the command. Otherwise, even though some of the processes may have been difficult, I am very pleased with the outcome and I think that the end result is beautiful

Reverse Engineered Object: A Milestone

 Reverse Engineered Object: A Milestone  By: Marina Dawson I began this project, unsure of where I should even begin. I wandered around my dorm, pulling open the drawers in my kitchen and finding a can opener. At first, I thought this was definitely what I wanted to do, but after finding a small Travalo perfume atomizer, I decided that this was the direction I wanted to take.  Firstly, I began by examining my object and pulling it apart, I also googled the brand and found most of the necessary dimensions on amazon and the manufacturer's diagrams for how the atomizer actually works. In the end, I created this video exploring what I learned and how the object can be disassembled.   After this first step I began to take measurements with my digital caliper, I drafted out this image of my object, completely disassembled and labeled each area while doing this. This, in turn, made the next step of creating the object in Rhino much easier.  I ran into a couple of ...