Reverse Engineered Object: A Milestone
By: Marina Dawson
I began this project, unsure of where I should even begin. I wandered around my dorm, pulling open the drawers in my kitchen and finding a can opener. At first, I thought this was definitely what I wanted to do, but after finding a small Travalo perfume atomizer, I decided that this was the direction I wanted to take.
Firstly, I began by examining my object and pulling it apart, I also googled the brand and found most of the necessary dimensions on amazon and the manufacturer's diagrams for how the atomizer actually works. In the end, I created this video exploring what I learned and how the object can be disassembled.
After this first step I began to take measurements with my digital caliper, I drafted out this image of my object, completely disassembled and labeled each area while doing this. This, in turn, made the next step of creating the object in Rhino much easier.


I ran into a couple of issues at this point, I first struggled with creating the logo which is across the red case, which almost made me give up on the text completely. However, After taking a breath, I figured this problem out and included it in my second blog post. Later, updating my design and starting on some rough-looking materials for future renders.


In the end, I corrected over three design flaws, and overcame each one, The first was the text, the second was the materials for rendering my object, which looked grainy, and even had a watermark, and lastly sorting out some lighting issues which drove my crazy (Everything looked way too bright, even when I was hoping for dramatic shadows and highlights for this one image) In the end I came up with these renders here.

This one is likely one of my favorites because it is so similar to the first screenshot I made, and I feel like I can compare the two and really see where I improved.

I really love this render as well, because I used custom lighting to create these fantastic shadows which are really eye-catching.

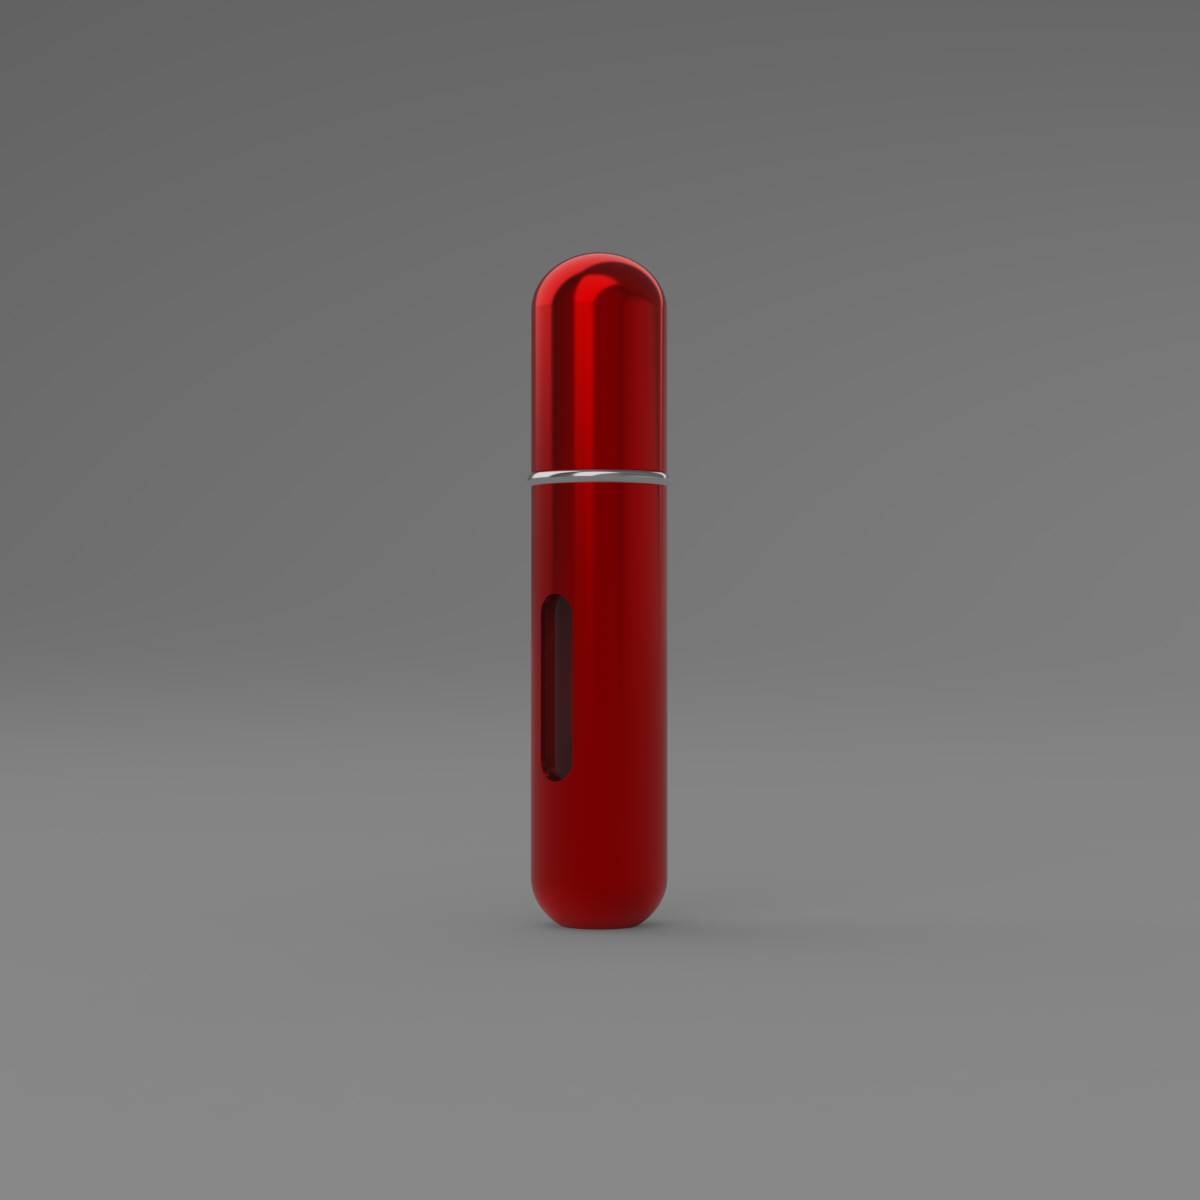
This Render was particularly successful because I love how dramatic the highlights and shadows are, I made this effect using a combination of a spotlight and a skylight.

I made multiple exploded views of my design before, but never had any of them featured such an interesting layout, I did this by spreading my object out at an angle and then turning up the intensity of the skylight so that way the metal in the object really popped. I think this is one of my best renders so far.
Finally, My favorite renders so far. After creating this one in particular I thought to myself,
"Wow, their marketing group could likely use this render for a real-life advertisement". This was something really special to me because I realized for the first time that I was creating quality work and maybe this is something I can use in the future. Hands down, this is the render that encapsulated how much time and effort I put into this project and I couldn't be more happy about it.
"Wow, their marketing group could likely use this render for a real-life advertisement". This was something really special to me because I realized for the first time that I was creating quality work and maybe this is something I can use in the future. Hands down, this is the render that encapsulated how much time and effort I put into this project and I couldn't be more happy about it.
Comments
Post a Comment